Get Started with AWS Free Tier
Cloud computing has been a trend, especially after the Covid 19 epidemic, so the demand for self-study and learning about Amazon Web Services is also increasing. Join Viet-AWS User Group to learn how to create an AWS Free Tier account to experience more than 85 Amazon Web Services products and services in the article below.
What do you need to sign up for a free-tier account?
- The email account is valid and makes sure you can sign in to this email.
- Phone numbers for Amazon Web Services to authenticate and receive authentication codes from Amazon Web Services
- Bank card (Visa or MasterCard) with a minimum balance of $1 USD. AWS will charge you 1 USD at the beginning and will return this fee to you in maximum of 5 working days.
Steps to create AWS Free Tier account
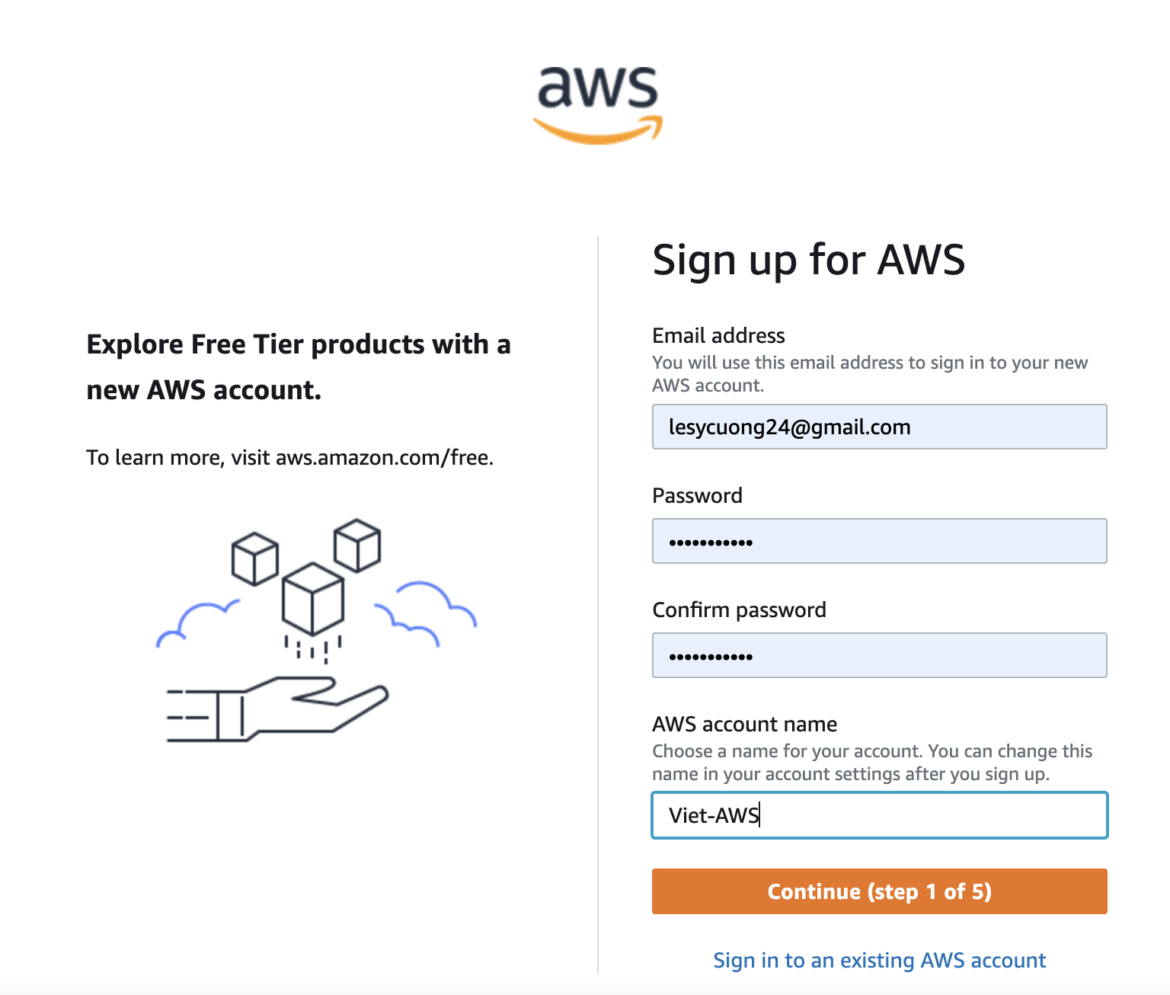
Step 1: Select a language and sign up for an account
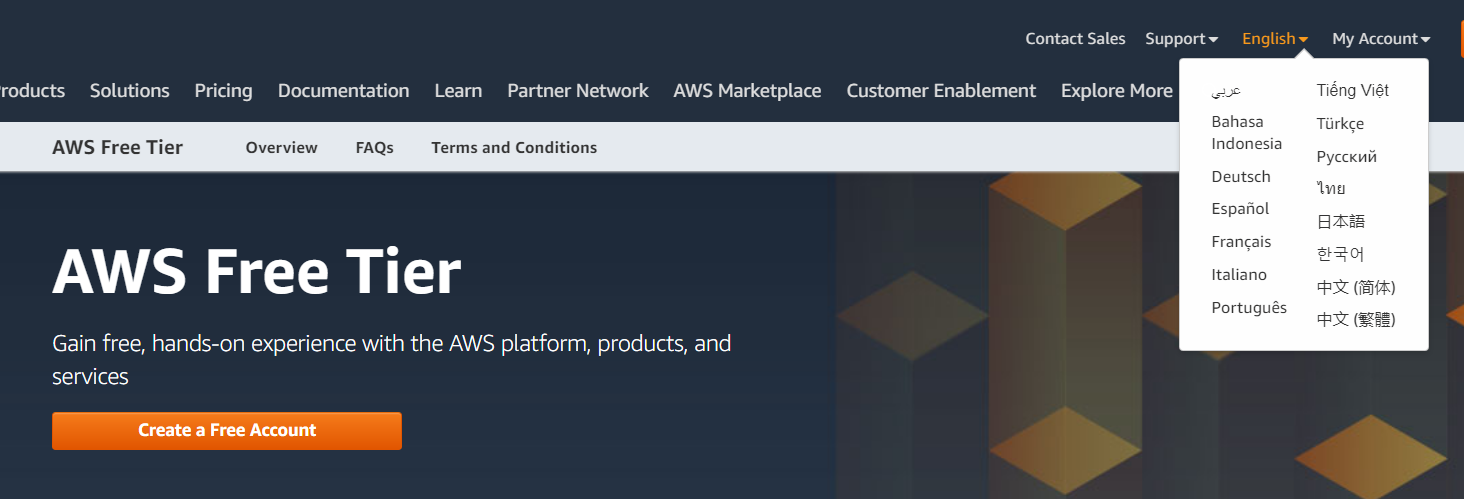
Access the AWS Free-tier account creation link
Amazon Web Services now has Vietnamese support, when you go to the Free Tier registration page, in the menu bar on the right, you can change the language to Vietnamese.
In this step you’ll need an email to create an account, fill in the password information as well as the AWS account name. This registration email will also be used to make an email for your root account.
Step 2: Provide contact information
Since it is the first time you create an account, you will need to provide account information such as your name, phone number, address.

Note the “Personal” selection in the “Account type” section. If you create an account for your business, you can choose “Business“
Step 3: Payment information
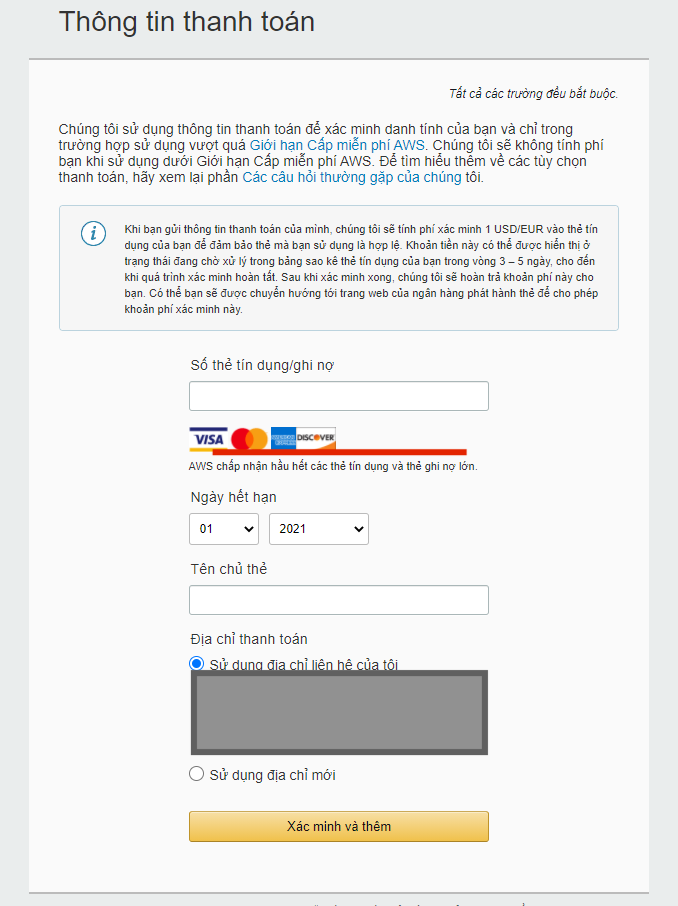
AWS currently accepts payments through Visa, Master, Discovery, and American Express cards
After completing the payment information section, you select “Verify and add” to continue the next steps.
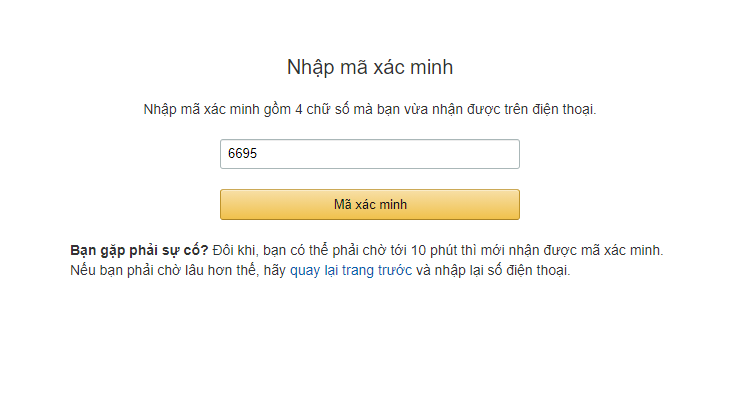
Step 4: Verify your identity
In this step, you need to provide the correct phone number to receive the verification code from the system.
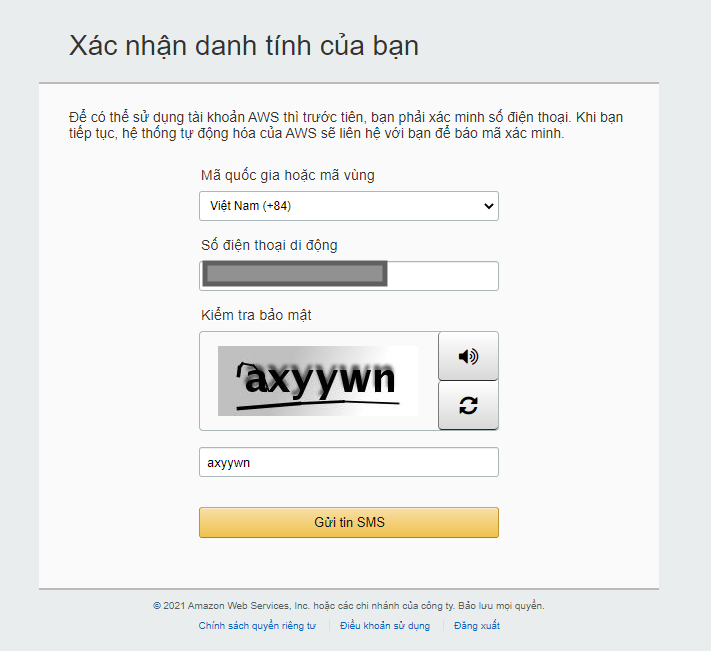
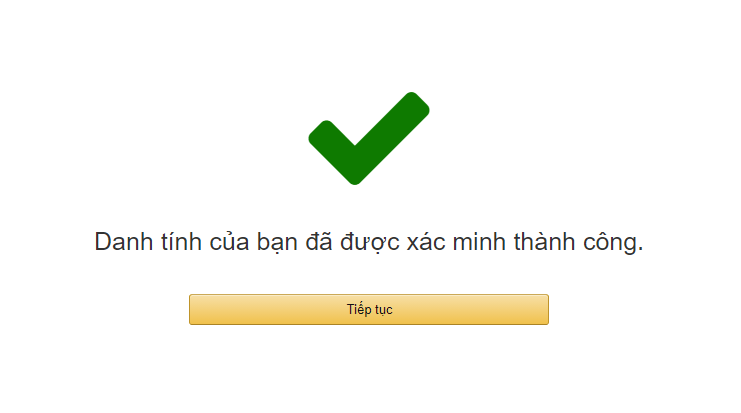
Once you’ve completed the information and provided your phone number, Amazon Web Services will send a 4-digit PIN and you only need to enter it to complete identity authentication.
Step 5: Select the support package – Free tier
At this step, you’ll select the AWS Support Plan, which selects the “Basic Plan” to avoid charges.
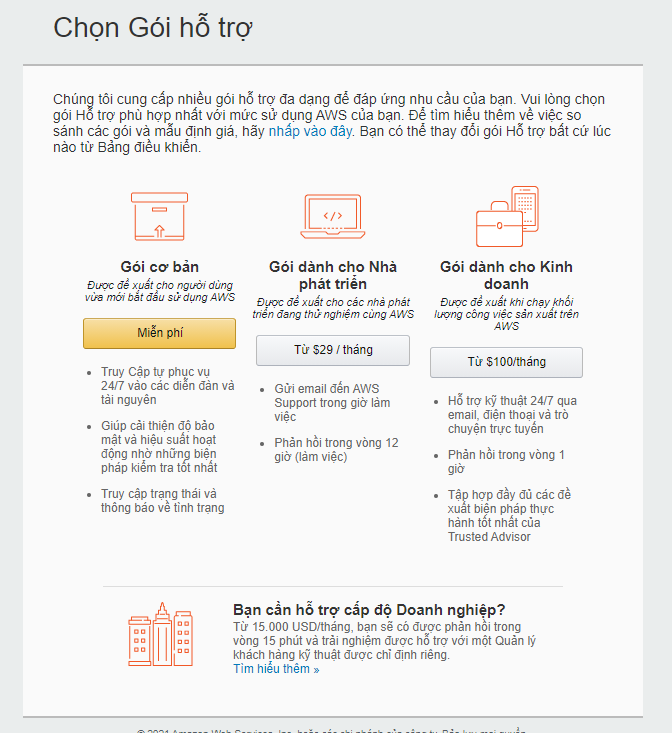
Amazon Web Services will have more questions to survey your location and needs to make suggestions about services and support in training. You can fill in your current location to receive updates and information related to your work.
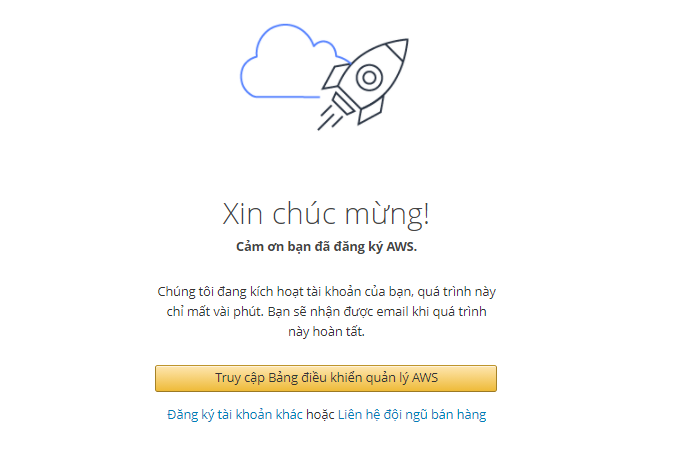
Step 6: Information announced at the account successfully
By this step, you have completed signing up for an AWS account
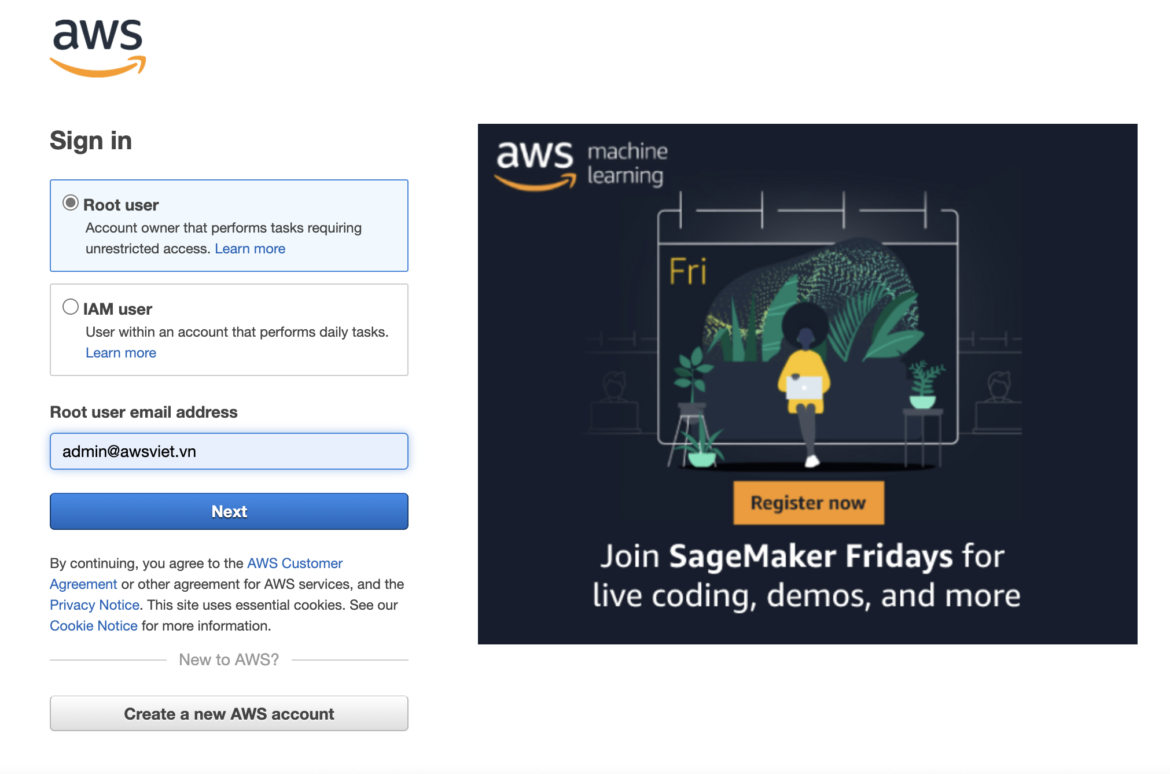
Step 7: Sign in to AWS Management Console and experience the services
Use the account you just created successfully to sign in to the AWS Management Console to experience Amazon Web Services.
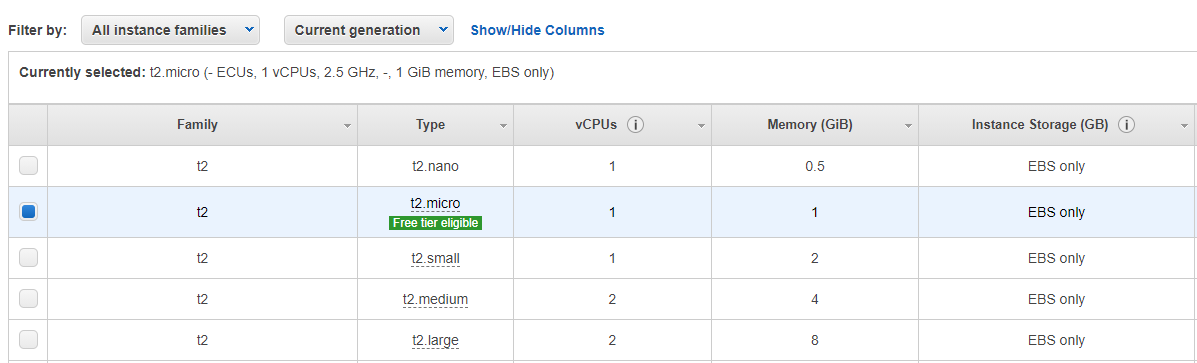
After successfully signing in to the Console you can use AWS services. To use Free-tier, please note the choice of services with the words “Free tier eligible”. As shown below is the console to create EC2.
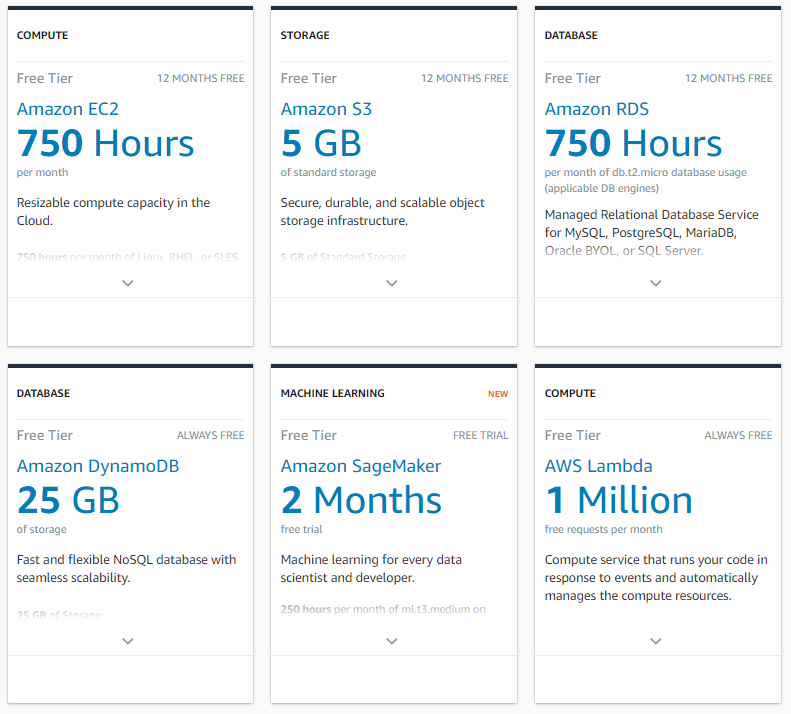
List some AWS Free tier services
See details of AWS free tier services here.

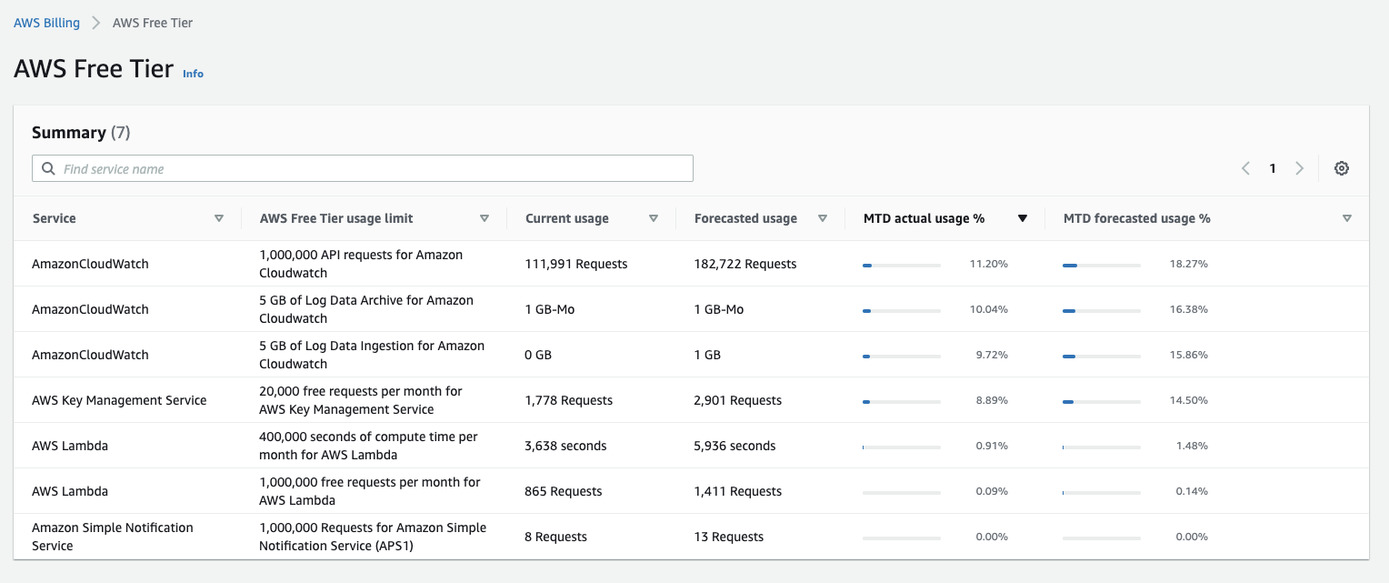
You can view the Free Tier section report in AWS Billing